
How To Change Your Sungrow WIFI Connection
This guide explains how to reconfigure your Sungrow iSolar Cloud Wifi Configuration
If you've changed internet provider recently, it's likely your inverter will go offline as the new provider will have changed your router and/or its password.
You will need to provide the inverter the new password for your home network.
Please follow this video tutorial here for a complete step by step guide
Video Guide: How To Change Your Sungrow WIFI Connection
Written Guide: How To Change Your Sungrow WIFI Connection
Step 1 — Activate the Inverter’s Wi-Fi Mode
Download the iSolarCloud App
Install the iSolarCloud app from the App Store (iOS) or Google Play (Android).Locate the Wi-Fi Dongle
Go to your inverter and find the black Wi-Fi dongle plugged into the underside or side port of the inverter. Sometimes there is a black cover in the way of the dongle. If you look under this in the middle you will see the dongle.Activate WLAN Mode
Press the small WLAN button on the dongle 3 – 5 times quickly.A blue “WLAN” light should start flashing to indicate it’s in configuration mode.
If it doesn’t flash, continue to the next step anyway; you can retry later.
Step 2 — Connect Your Phone to the Inverter’s Wi-Fi Network
On your phone, go to Settings → Wi-Fi.
Look for a network name beginning with SG-XXX (the numbers will match your inverter’s dongle serial). If the SG network does not appear, repeat Step 1.

Tap the network to connect. There should be no password required.
Wait until your phone confirms connection to the inverter’s Wi-Fi.
Once successfully connected, proceed to Step 3.
Step 3 — Start Wi-Fi Configuration in the App
Open the iSolarCloud App
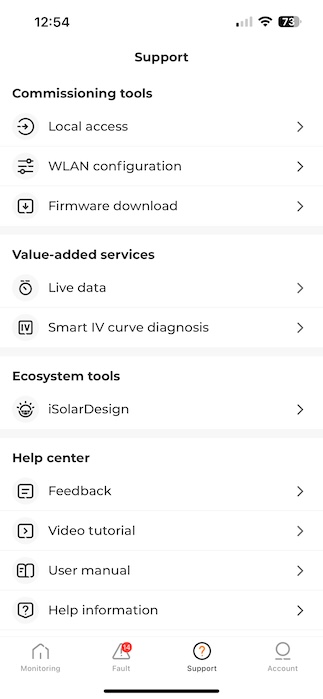
If already logged in, tap SUPPORT → WLAN Configuration.
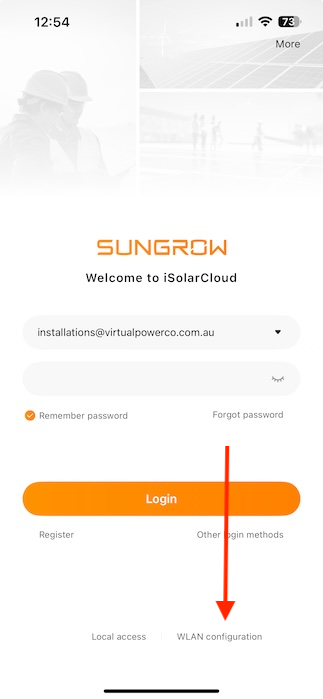
If not logged in, tap WLAN Configuration on the bottom-right of the login screen.
Confirm that you want to connect to the SG-XXX network when prompted
On the WLAN screen it will open a camera to scan a QR code. As you have directly connected to the inverter wifi already, you will be prompted to confirm the connection to the inverter instead.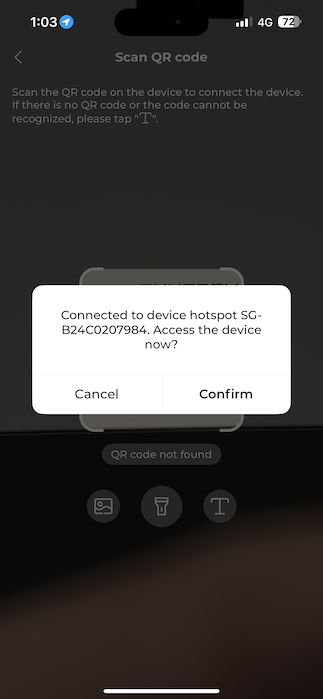
Press Confirm
The app will move to the next setup screen.
Step 3 — Configure Your Network
Hit Network Configuration to connect your wifi network with the inverter.
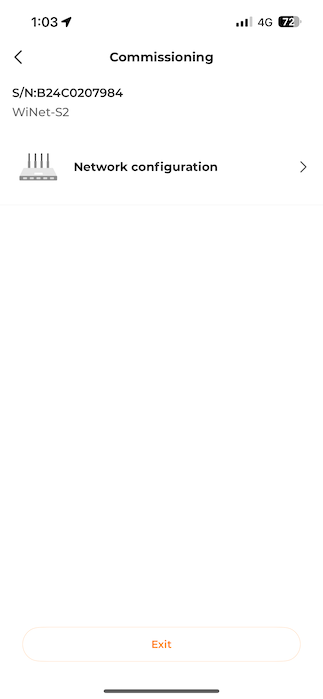
Locate the name of your home wifi network.
When you press on the name of your home wifi network you will be prompted to enter your wifi password. This is either the password you set on your router or the password provided on your wifi card with your provider.

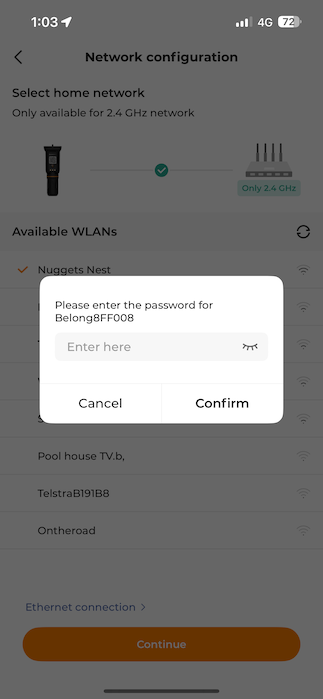
Hit Confirm and Continue
Once your password has been correctly entered, hit confirm and continue to initiate the configuration. You will be presented with the following.
Success?
If you the configuration was successful, you will see the following Steps ticked green and complete. You can now exit the app and reconnect back to your home wifi network on your device.
Step 4 — Log In and Verify Connection
Log In to iSolarCloud
Use the username and password you created when first setting up your account.
If you’re unsure, your username is usually your email address.
Check You’re on the Australian Server
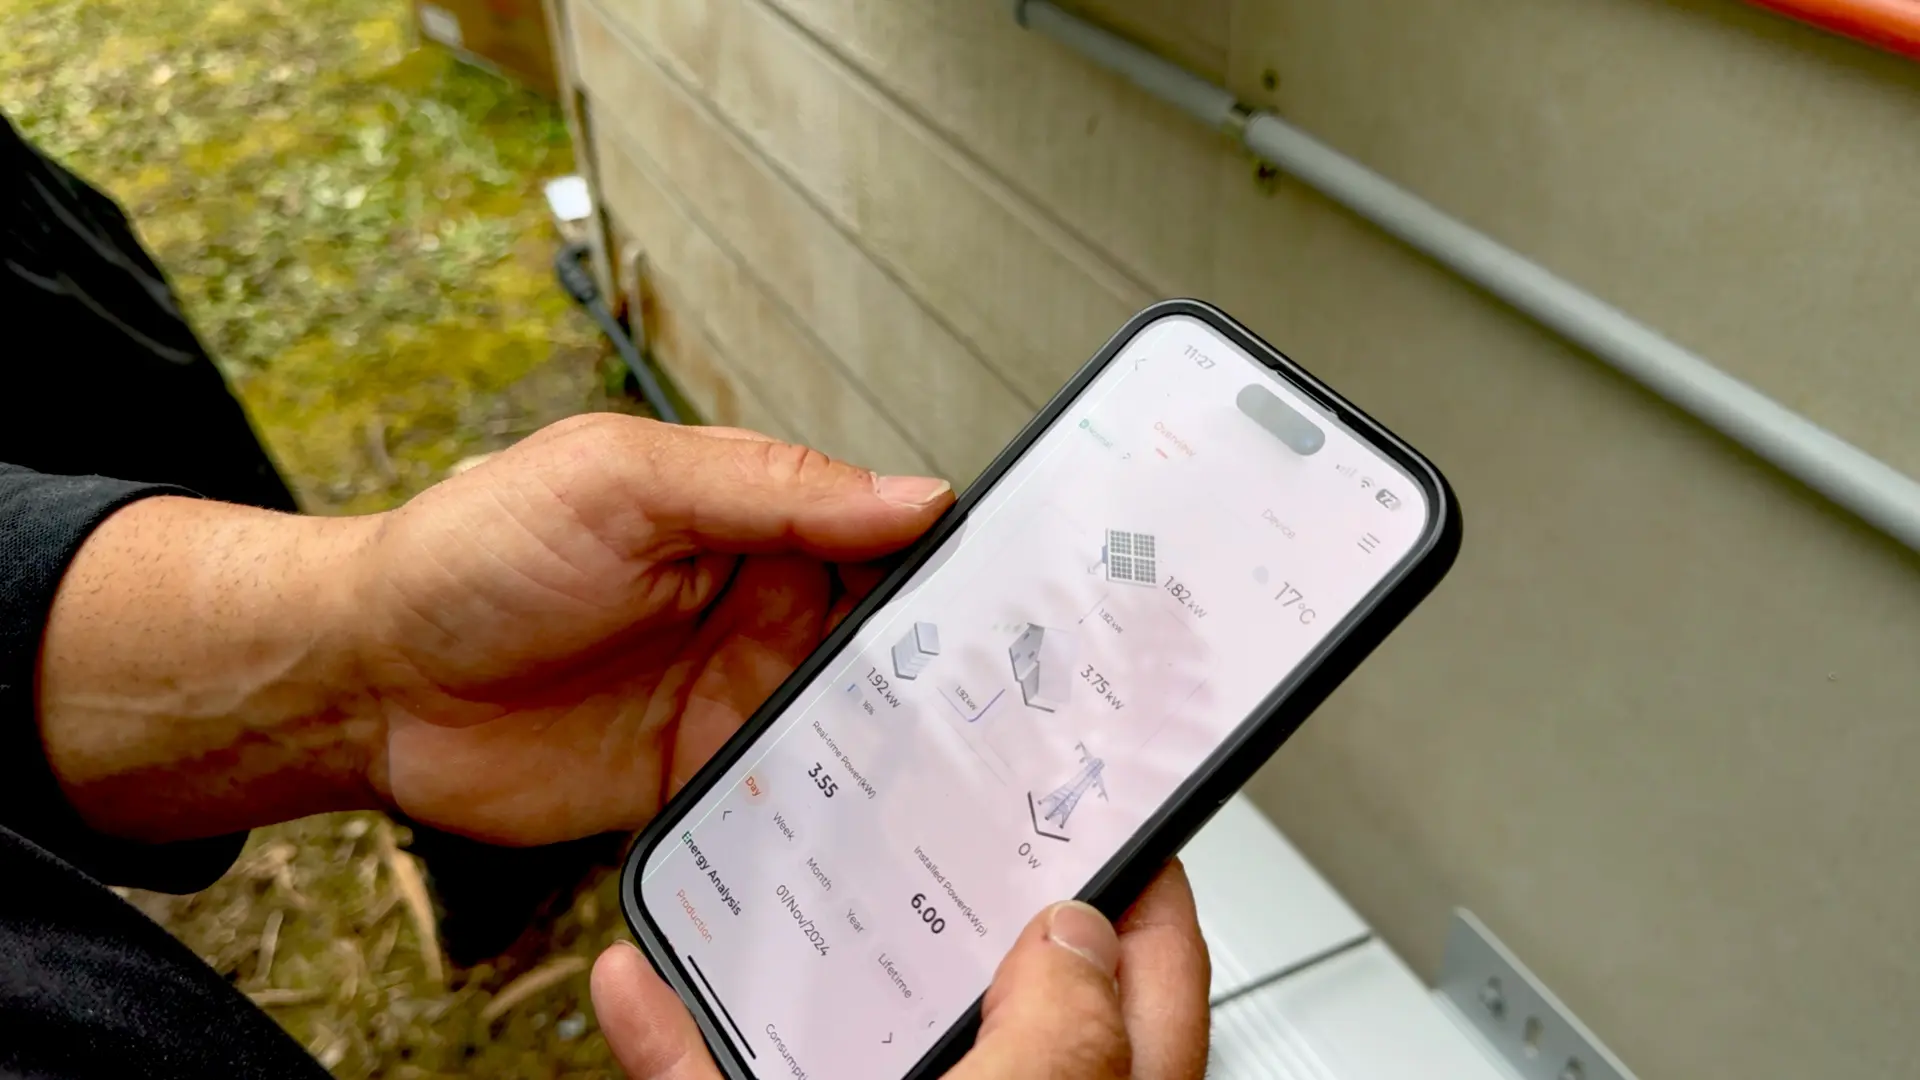
Tap MORE → Server Region and select Australia.Once connected, you should see live data on your Site Overview screen.
Troubleshooting
❓ I don’t know my username or password
Your username will be the email you registered with.
Tap Forgot Password on the login screen and follow the prompts.
If you still can’t log in, email support@virtualpowerco.com.au and request a manual password reset.
Include your inverter serial number for faster service.
⚠️ I’m Getting a “Failed” Connection Message
If you receive a connection failed message, follow these steps to perform a Direct Connection (also explained above):
Step 1 — Activate Direct Mode
On the “Failed” screen, tap WLAN Direct Connection.
Press the WLAN button on the dongle 3 times quickly to activate its local hotspot.
Tap Continue in the app.
Step 2 — Join the Inverter Hotspot
When prompted, tap Join to connect to the local Sungrow network (SG-XXX).
If the popup doesn’t appear, manually open your phone’s Wi-Fi list and connect to the SG-XXX network that matches your inverter’s serial number.
If the SG-XXX network does not appear:
Unplug the Wi-Fi dongle, plug it back in, and press the WLAN button 3 – 5 times again.
Or, turn your phone’s Wi-Fi off and on to refresh the list.
Step 3 — Reconnect to Your Home Network
Return to iSolarCloud and tap Continue.
Select your home Wi-Fi network and enter the password.
The inverter will now attempt to reconnect to your home Wi-Fi.
When successful, the app will display Connection Successful and return to your main Site Overview.
✅ Tips for Best Results
Make sure your home Wi-Fi signal reaches the inverter’s location. Consider installing wifi extenders for a reliable long term connection.
Avoid using 5 GHz Wi-Fi (this wont get picked up by the inverter) – use the 2.4 GHz band for best compatibility.
If repeated failures occur, try restarting the inverter before repeating the process.